![]()
In this modern age, all of us film photographers need a way to bring a physical strip of film into the digital space. Whether you are just trying to post your images on social media or make an inkjet print, scanning is a necessity for most analog photographers.
While scanning at home can be a time-consuming and tedious task, it is a great way to save some money on lab fees, while keeping your hand in the process that is film photography. However, the world of scanning can be quite intimidating, especially when you consider how big of an impact this step in the process has on the look of your final image.
Scanning film is never a definitive, once-and-done procedure, and your methods and techniques will greatly alter your photograph. In recent times, digital camera scanning has become increasingly popular, but is it really the most convenient way to digitalize your negatives?
Of course, there are many factors you need to consider when choosing a film scanner. The most important thing is what film formats you need to scan. While there are several ways to scan films of various formats like flatbed scanners, digital cameras, or even things like high-end professional-level scanners like the Hasselblad Flextight, they all have their drawbacks.
Recently, I have been scanning all my 35mm film with a Nikon Super Coolscan 5000 ED that was originally released in 2003 and I couldn’t be happier with its function and image quality.
Why Use Something 20 Years Old and Not a Digital Camera Setup?
I have scanned a lot of film with various digital camera setups in the past. I have no doubt that you can get incredible results from camera scans, but ultimately, I found the kit to have too many variables for consistent results.
Because the digital camera scanning system requires several parts to make it work, I always felt like I was in the testing stage and never was able to finalize a setup that didn’t break the bank.
There is also a lot of fiddling required to get good results from a digital camera. If the focal plane is not perfectly parallel to the film below, you will be left with an image that does not have consistent sharpness. Similarly, if the film is not perfectly flat, the image’s corners get soft.
While I understand these issues can be solved by leaving the camera setup or taking extra time to dial everything in prior to scanning, I was really looking for a system that just worked – something I could turn on and get the same exact results every single time.
For a few years, I was fortunate enough to have access to a Hasselblad Flextight X5 to scan all my film. Of course, this was a system far out of my budget for home use. However, I really came to love how there weren’t as many variables as with camera scanning when using a dedicated film scanner.
That’s when I decided to pick up a used Nikon Super Coolscan 5000 ED. As mentioned, this scanner is old, and the original Nikon software is long outdated and unusable on modern Mac computers.
Thankfully, programs like Vuescan and Silverfast exist to give these machines that are getting long in the tooth a new life. You don’t even need any strange cable adapters to plug it into a modern computer, as it uses a standard USB 2.0 connector.
Keep in mind though: the Coolscan 5000, and its earlier predecessors like the 40, 50, and 4000 models, is only capable of scanning 35mm film.
What is Special About the Coolscan 5000?
The Nikon Super Coolscan 5000 ED is a small, desk-friendly unit that digitalizes film in the simplest way possible while yielding an impressive file that is plenty sharp with competitive resolution.
I control mine using Vuescan and scan each negative as a DNG file. Then I convert that negative image to positive using Negative Lab Pro in Lightroom. This method has proven to give me both incredible adjustment control while maintaining the scanner’s speedy function.
Speaking of scan time, one aspect of digital camera scanning that is far superior to most dedicated film scanners is the amount of time you’re sitting behind the computer. Most camera scanning methods allow you to capture an entire roll of 36 images in just a couple of minutes.
While the previous Coolscan models only allowed for strips of 6 frames to be loaded at once, the 5000 model provided the ability to automatically scan a full roll on its own. All you need to do is load the first frame in, adjust the starting point of where the images begin using Vuescan, press ‘Scan,’ and come back ~40 minutes later to a folder full of files, each one sized perfectly.
Another important feature of these Nikon scanners is their autofocus system. While most cheaper film scanners, like the Epson V550 and other flatbeds, are set to a fixed focus point, the Coolscan autofocuses on each frame, and you can control the exact autofocus point through your preferred operating software.
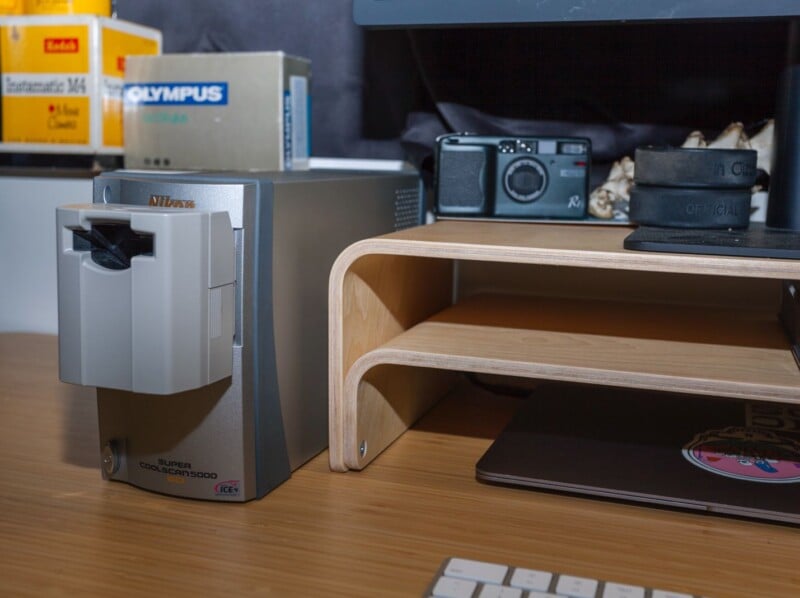
Image Quality
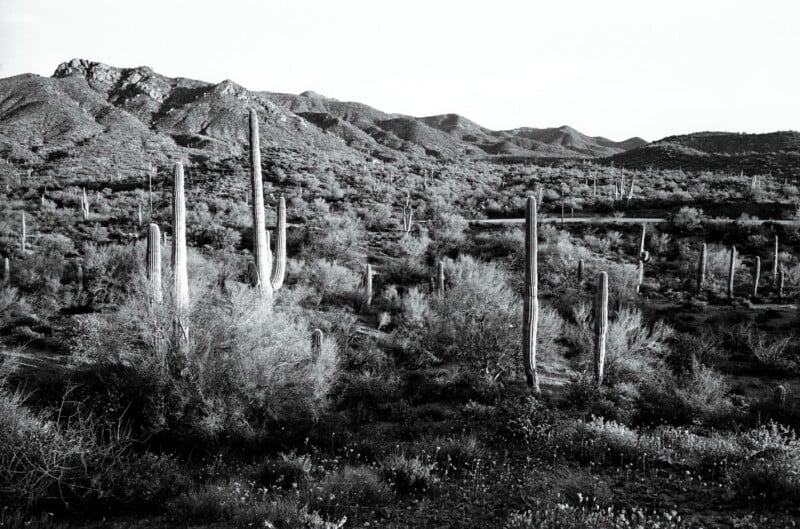
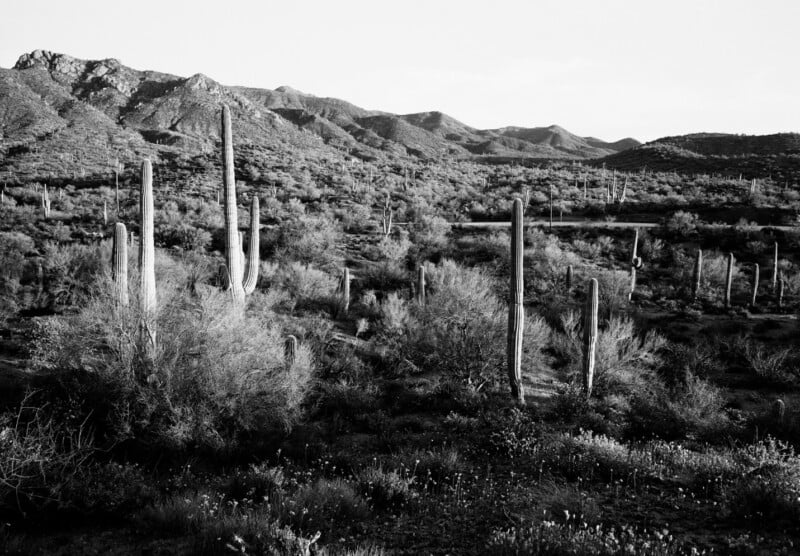
The Nikon Super Coolscan 5000 ED produces great files that allow for a decent amount of adjustment. This scanner can digitalize film at up to 4000 DPI – and this is a true resolution, not just a claimed number like other manufacturers list their scanners at. This means scans from this machine come out to just over 5500 pixels wide, which I would feel more than comfortable printing at up to 14 inches.
The files do require a good bit of sharpening to get looking nice. For web use, I have stuck to using a quick sharpening adjustment in Lightroom and that has proven to work great. When printing, however, I find they need a little more tweaking using Photoshop.
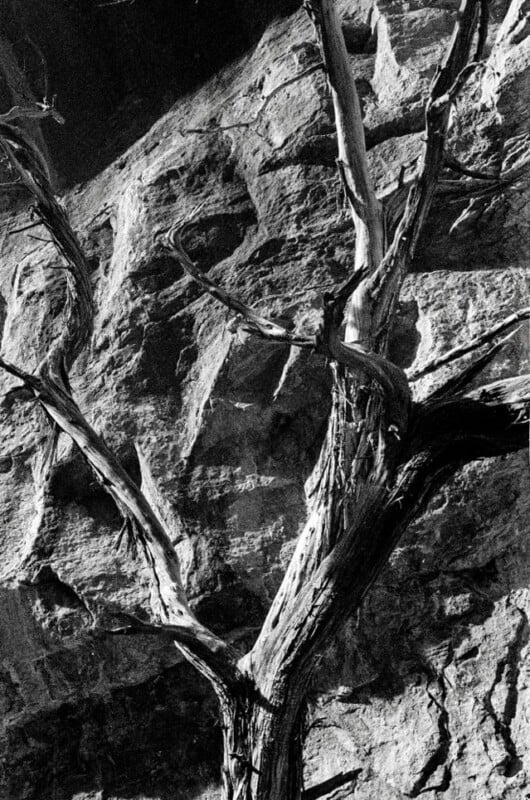
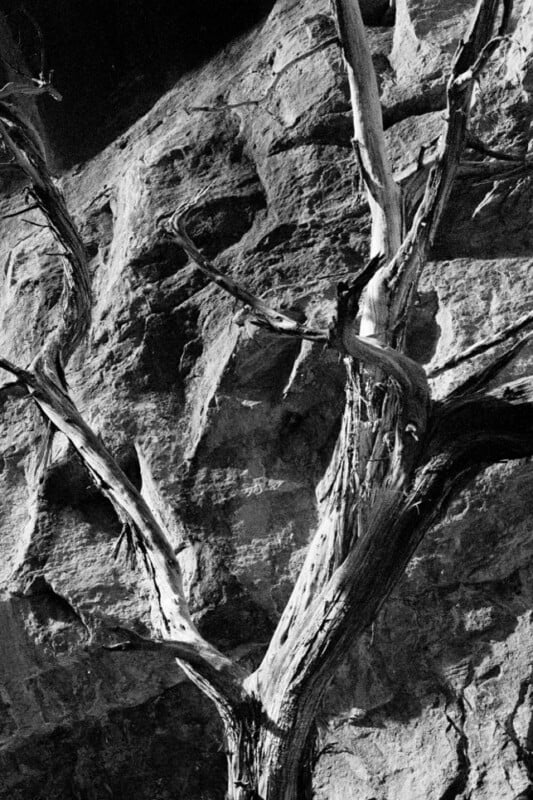
If I had one complaint about this scanner’s image quality, it would be in its dynamic range. I find that I can get more dynamic range out of my 35mm negatives when darkroom printing them. The scanner tends to lose detail in the extreme highlights faster than I would have hoped but this will be the case with most scanners in this price range. However, camera scanning allows you can take multiple exposures to create an HDR of the negative prior to conversion in order to maintain the full range of the negative’s contrast.
Also, because of the scanner’s design, I have had very few issues with dust on my negatives. When I was scanning with a digital camera, the film would sit exposed to dust particles for the entire time I was scanning. Negatives are held flat in the carrier as they pass in front of the camera’s lens, making them a perfect landing pad for any floating dust. The Coolscan pulls the film into it, where there are practically no places for dust to enter.
Conclusion
Are these old scanners still worth the prices they are being asked of $500+ at 20 years old? I would have to say, “Yes, they certainly are.” If you are looking for a way to get consistent results with relatively little testing and next to no pre-scan setup, the Nikon Super Coolscan 5000 ED is a great choice for scanning 35mm film.
